Assembling the Control Arm for a Valve Maintenance Trailer: A Step-by-Step Guide to Techniques, Tools, and Industry Insights
You are here:Home » News » Assembling the Control Arm for a Valve Maintenance Trailer: A Step-by-Step Guide to Techniques, Tools, and Industry Insights
Assembling the Control Arm for a Valve Maintenance Trailer: A Step-by-Step Guide to Techniques, Tools, and Industry Insights
Views: 0 Author: Site Editor Publish Time: 2026-11-14 Origin: Site
This guide shows you how to complete assembling the control arm for a valve maintenance trailer. Assembling the control arm follows a set order. You work with a certain set of tools. Exact lining up, the right torque, and choosing parts with care decide how it turns out.
Technicians and engineers will find steps they can use here. You get clear tool tips for each stage of assembling the control arm. You also get industry best practices that hold up in field service. Follow the order, check each fit, and check every fastener against the maker's documents. That care is what makes a control arm reliable instead of loose.
Key Takeaways
Safety comes first: park on a flat surface, set the brakes, and chock the wheels before you start.
Use the right tools, and follow the manufacturer's torque values for every fastener.
Check the alignment before you do the final tightening. This prevents load problems and early wear.
Pick bushings and fasteners that fit your trailer's hardest use and weather.
Do regular tests like dynamic scan and step response to find wear early.
Tools for Control Arm Assembly
Hand Tools and Fasteners
You need a basic set of hand tools to put the control arm together. Wrenches, sockets, and a calibrated torque wrench make up the core of this set. These tools let you seat each fastener and control the clamp load on the joint. A torque wrench needs special attention. It gives you a repeatable reading, and that reading protects the bushing and the mounting bracket from damage.
Fasteners are not generic hardware. Match every bolt, nut, and washer to the specification in the manufacturer's documentation. Torque values and fastener specifications should always follow that documentation. The correct grade and thread pitch keep the joint stable under vibration. Keep a small supply of spare fasteners on hand, and check each one for damage before you install it.
Measuring and Lifting Aids
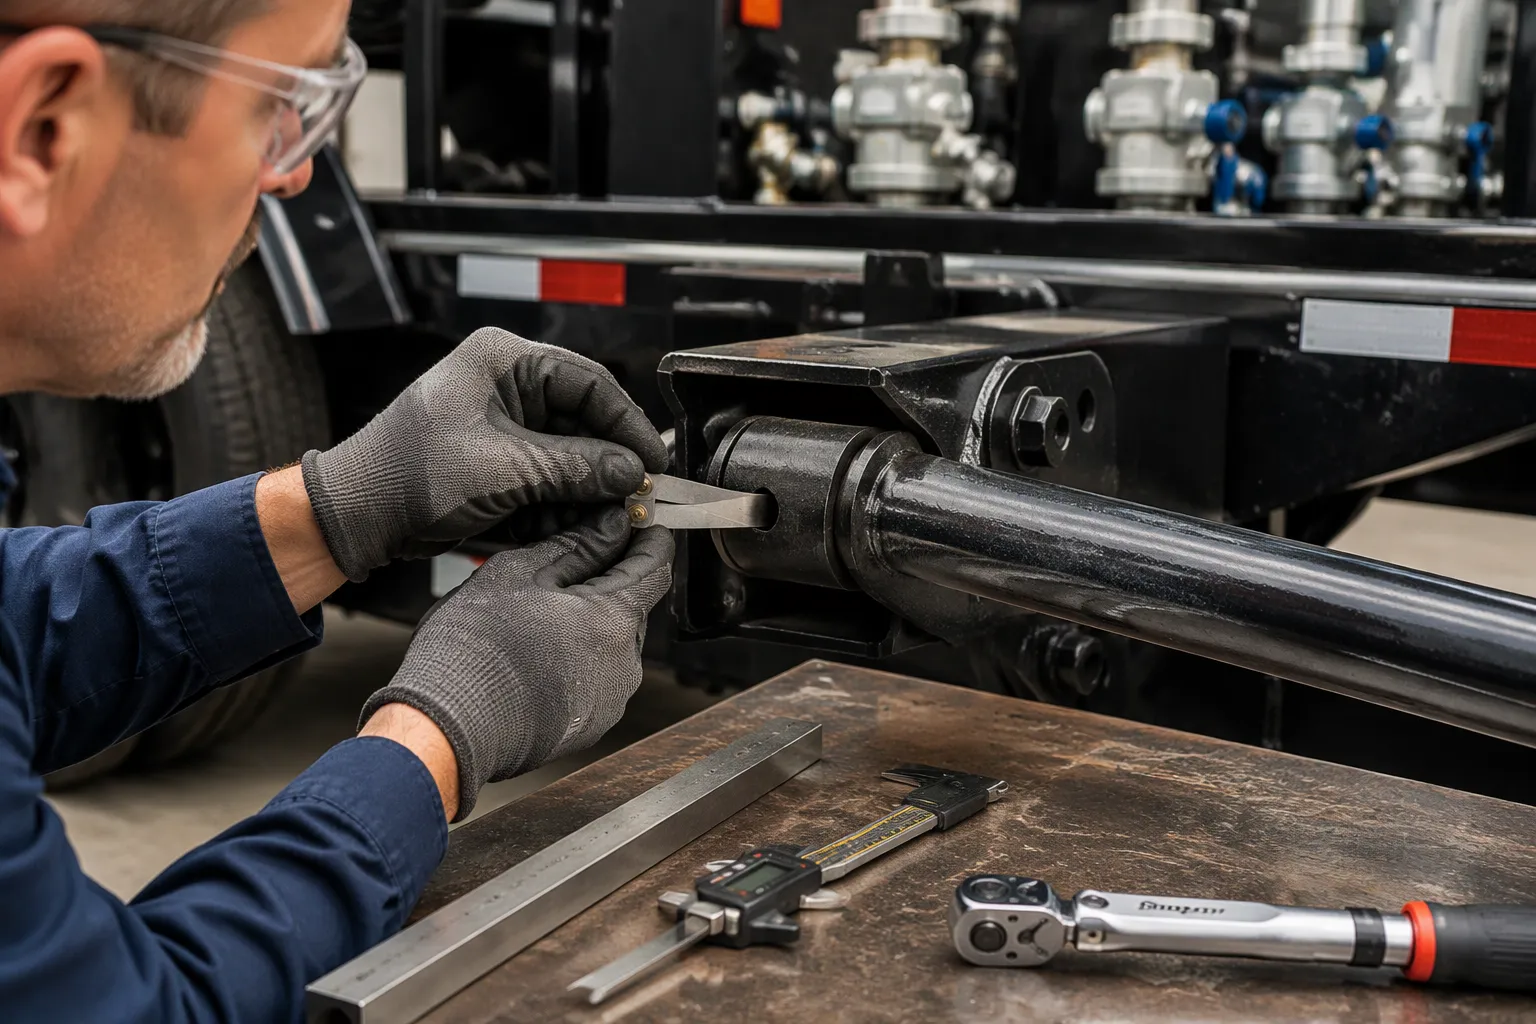
Measuring tools confirm that the control arm sits in the right position. A straightedge, a caliper, and a feeler gauge cover most checks you will make. Use them to verify gap sizes and mounting distances before you tighten anything. These simple instruments catch misalignment early, when it is still easy to fix.
Lifting aids protect both you and the component. A floor jack or a lifting sling supports the control arm while you position it. The aid holds the weight, so your hands stay free for alignment and fastener work. Choose an aid rated for the load, and check its condition before each use. A stable lift makes the whole assembly sequence safer and more accurate.
Assembling the Control Arm: Step-by-Step
Preparing Components and Mounting Surface
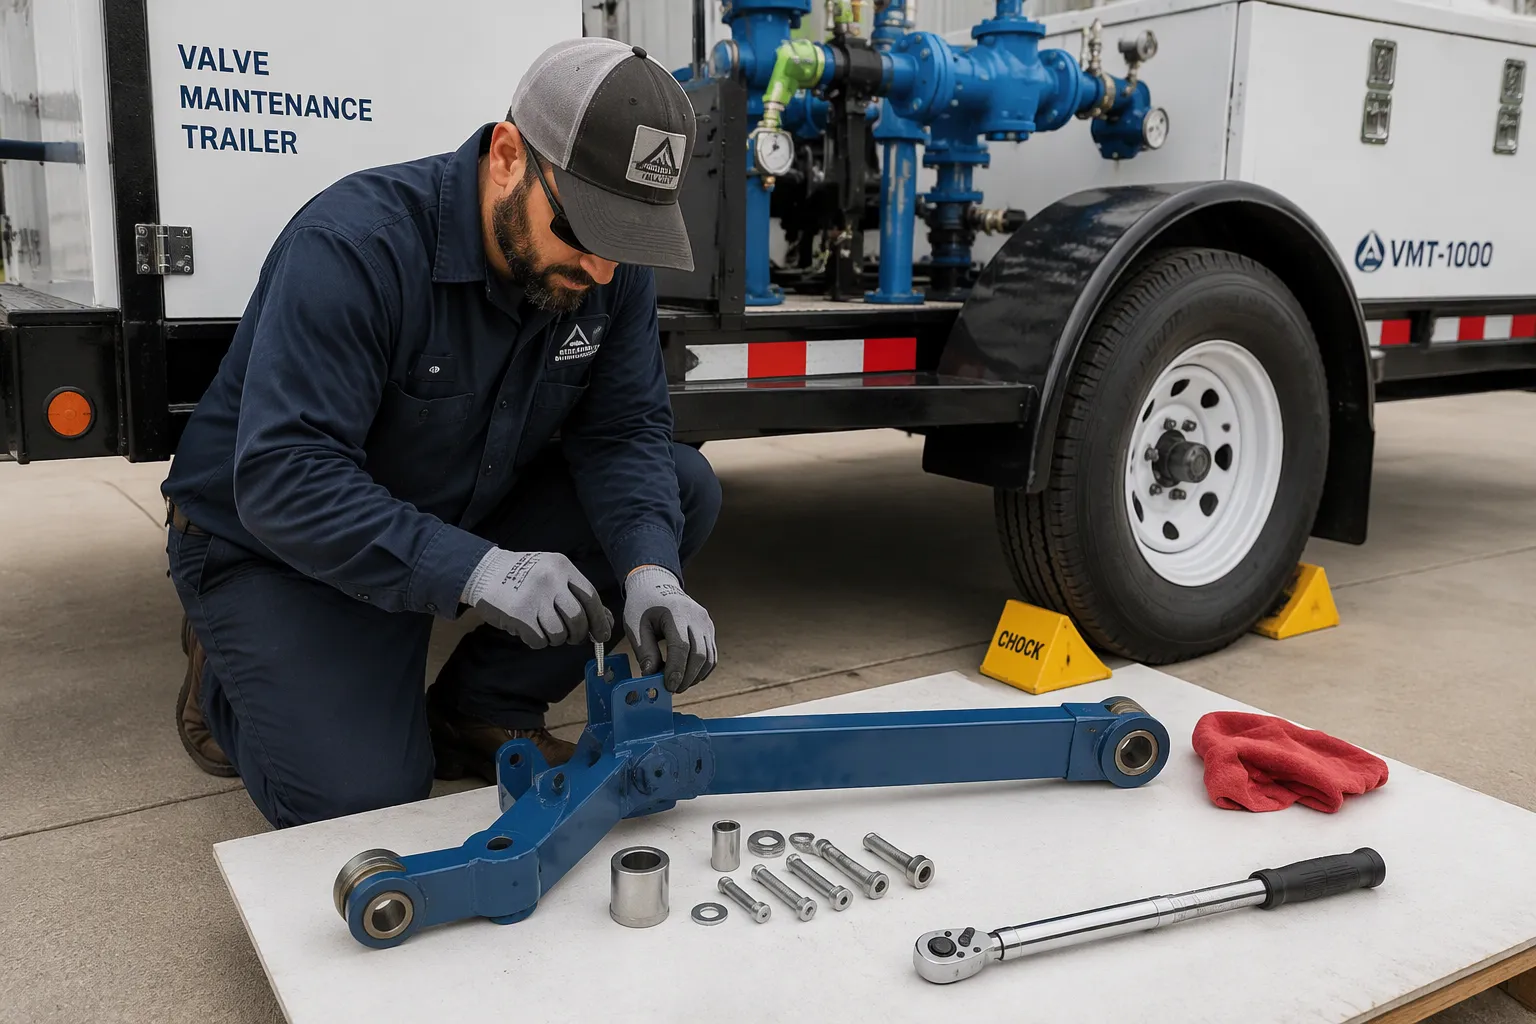
Safety comes first, before you touch any component. Park the trailer on a flat, level surface with no debris. Set the trailer parking brakes. Chock the wheels of the trailer axles before any work begins. These three steps hold the trailer steady and protect you while assembling the control arm.
Next, lay out every component and inspect it. Check the control arm, bushings, brackets, and fasteners for damage or wear. Clean the mounting surface with a shop rag and remove dirt, grease, and rust. A clean surface gives you a true mating face and prevents false alignment readings later.
Use the Emerson Control Valve Handbook as your reference. Chapter 8 covers typical control valve installation and maintenance procedures. Chapter 9 lists standards and approval agencies. Both chapters give you a documented baseline for the work ahead.
Training videos can speed up how fast you get familiar with the job. Watch the HI-100 Severe Service Control Valve video for valve-specific context. The Compact LX Valve Maintenance Trailer orientation video covers opening, unpacking, set-up, features, workflow, and testing. Review these before you start assembling the control arm for the first time.
Fitting Bushings and Fasteners
Start with the bushings. Press each bushing into its bore with a driver that matches the bushing diameter. Keep the bushing square to the bore during insertion. A tilted bushing will bind the control arm later and spoil your alignment work.
Seat the control arm on the mounting surface and insert the fasteners by hand. Hand-threading confirms that each thread starts cleanly. Cross-threading at this stage damages the fastener and the bracket. Run each bolt down until it touches the mating face, then stop. Final tightening comes later, after alignment checks.
Follow the manufacturer's documentation for fastener grade, thread pitch, and torque values. Do not substitute hardware from a general bin. The correct grade keeps the joint stable under vibration and field service loads.
Check that each bushing sits fully in its bore and that no gap shows at the bracket face. A feeler gauge confirms the fit. If a gap appears, stop and find the cause before you continue. Assembling the control arm depends on clean fits at every joint, and a forced fit hides a problem that will return in the field.
Alignment and Torque Techniques
Verifying Alignment
Alignment decides how the control arm carries load. Check it before you tighten any fastener to its final value. A loose joint lets you shift the arm into position. A tight joint locks in whatever error you built in earlier.
Start with a visual check. Sight along the control arm and compare its position to the mounting bracket. Look for even gaps on both sides of each bushing. A straightedge laid across the mounting face shows whether the arm sits flush. Run a feeler gauge around each joint. The gauge should meet the same resistance at every point. A loose spot or a tight spot signals a tilt in the arm.
Check the mounting distances with a caliper. Measure from a fixed reference point on the trailer frame to the same point on the control arm on both sides. The two readings should match. A mismatch means the arm sits off-center. Correct it before final tightening, because the fastener will not pull out a centering error once it seats.
Move the arm through its range of travel by hand. It should swing freely with no binding and no contact against the frame or nearby components. Binding points to a misaligned bushing or a bent bracket. Fix the cause now. Final torque will not correct a misalignment. It will hide the problem until the trailer sees field service.
Re-check alignment after the first tightening stage. The joint can shift as clamp load builds. A quick second look catches that movement before the final pass.
Torque Sequencing and Checks
Sequence matters as much as the final value. Tighten fasteners in a pattern that pulls the joint down evenly. Work from the center outward, or alternate side to side, following the pattern in the manufacturer's documentation. An even pull keeps the bracket flat against the mounting face. A one-sided pull tilts the bracket and loads one edge of the bushing.
Tighten in stages. Bring each fastener to a fraction of its final torque first, then repeat the pattern at the full value. Staged tightening lets the joint settle and keeps clamp load uniform across the group. Skip the stages and the first fastener you tighten can relax as you load the ones beside it.
Always take torque values from the manufacturer's documentation for your specific control arm and fastener grade. Do not guess a value or borrow one from a different assembly.
Use a calibrated torque wrench and confirm its calibration date before you start. Hold the wrench steady and apply force smoothly. A jerking pull gives a false reading. After the final pass, re-check each fastener in the same sequence. Mark each one as you confirm it, so no fastener goes unchecked. A re-check catches the fastener that settled or the one you missed.
Record the final values in your service log. The next technician then knows the baseline and can spot a fastener that has relaxed.
Assembling the Control Arm rewards this discipline. A verified alignment and a controlled torque sequence give you a joint that holds under vibration. Assembling the Control Arm this way also makes the next service easier, because every fastener comes off at a known value.
Component, Maintenance, and Safety Insights
Selecting Components for Trailer Service
Component choice starts with the job the trailer must do. Wachs Valve Maintenance Systems defines four functions: locate valves, access valves, operate or exercise valves, and record data about the valve. Each function places its own demand on the control arm. A trailer built mainly for locating work carries lighter loads than one that exercises large valves daily. Match the arm, bushings, and fasteners to the heaviest duty in your service mix.
Several component options fit this range of work. Standard bushings suit routine exercise cycles and give smooth movement at modest cost. Heavy-duty bushings fit trailers that see frequent high-load operation and hold up longer under repeated cycling. Coated fasteners work well in wet or corrosive field conditions, while plain fasteners serve dry, sheltered sites. Each option has a place. Weigh your duty cycle, your climate, and your service interval, then pick the option that fits best.
Maintenance and Safe Assembly Practices
Routine diagnostics catch wear before it becomes a failure. Run a dynamic scan to observe seat load, friction, spring rate, and air supply. Each reading tells you how the valve behaves under real conditions. Follow with a step response test to observe the response of the entire valve assembly. A slow or uneven response points to friction or a supply problem. Log both tests, and compare each result to the previous one. Trending shows a drifting value long before it turns into a breakdown.
Safe assembly practices protect the technician and the equipment. Keep the trailer chocked and the brakes set during every service visit. Inspect fasteners for stretch or corrosion at each interval. General maintenance and assembly instructions for control valves in a high pressure bypass system appear in dedicated maintenance documents. Consult those documents before you service that equipment. Careful practice during Assembling the Control Arm pays off across the trailer's whole service life.
You now have the full order: clean the surface, fit the bushings, seat the fasteners, check alignment, then torque in stages. A calibrated torque wrench, a feeler gauge, and a rated lifting aid make that order repeatable on every build.
Checking alignment and controlling torque matter the most. Check the fit before final tightening, and follow the manufacturer's values in a staged pattern.
Choosing parts with care, doing routine maintenance with dynamic scan and step response testing, and keeping steady safety habits keep the control arm and the trailer reliable in the field. Use this guide on your next build, and let each assembly raise the standard for the one after it.
FAQ
Where do I find the correct torque values for the control arm fasteners?
Get every torque value from the manufacturer's documentation for your exact control arm and fastener grade. Do not guess a value or take one from a different assembly. Check your torque wrench calibration before you start, and write the final values in your service log.
How do I know the control arm is aligned before I tighten it?
Use a feeler gauge to check the gaps on both sides of each bushing. Measure from a fixed frame reference to the same point on the arm on both sides. The readings should match. Move the arm through its travel by hand and make sure it swings freely with no binding.
What should I check before I begin any assembly work on the trailer?
Park on a flat, level surface that is free of debris. Set the trailer parking brakes. Chock the wheels of the trailer axles. These steps keep the trailer steady for the whole job. Check each component for damage, then clean the mounting surface before you fit anything.
Which maintenance tests keep the valve assembly reliable?
Run a dynamic scan to observe seat load, friction, spring rate, and air supply. Then run a step response test to observe how the entire valve assembly responds. Log both results and compare them to earlier readings. Trending shows a drifting value before it turns into a failure.
How do I choose bushings and fasteners for my service mix?
Start with the four Wachs functions: locate, access, operate or exercise, and record valve data. Match the arm and bushings to the heaviest duty in your mix. Standard bushings work for routine cycling, and heavy-duty bushings fit frequent high-load work. Coated fasteners help in wet or corrosive sites.