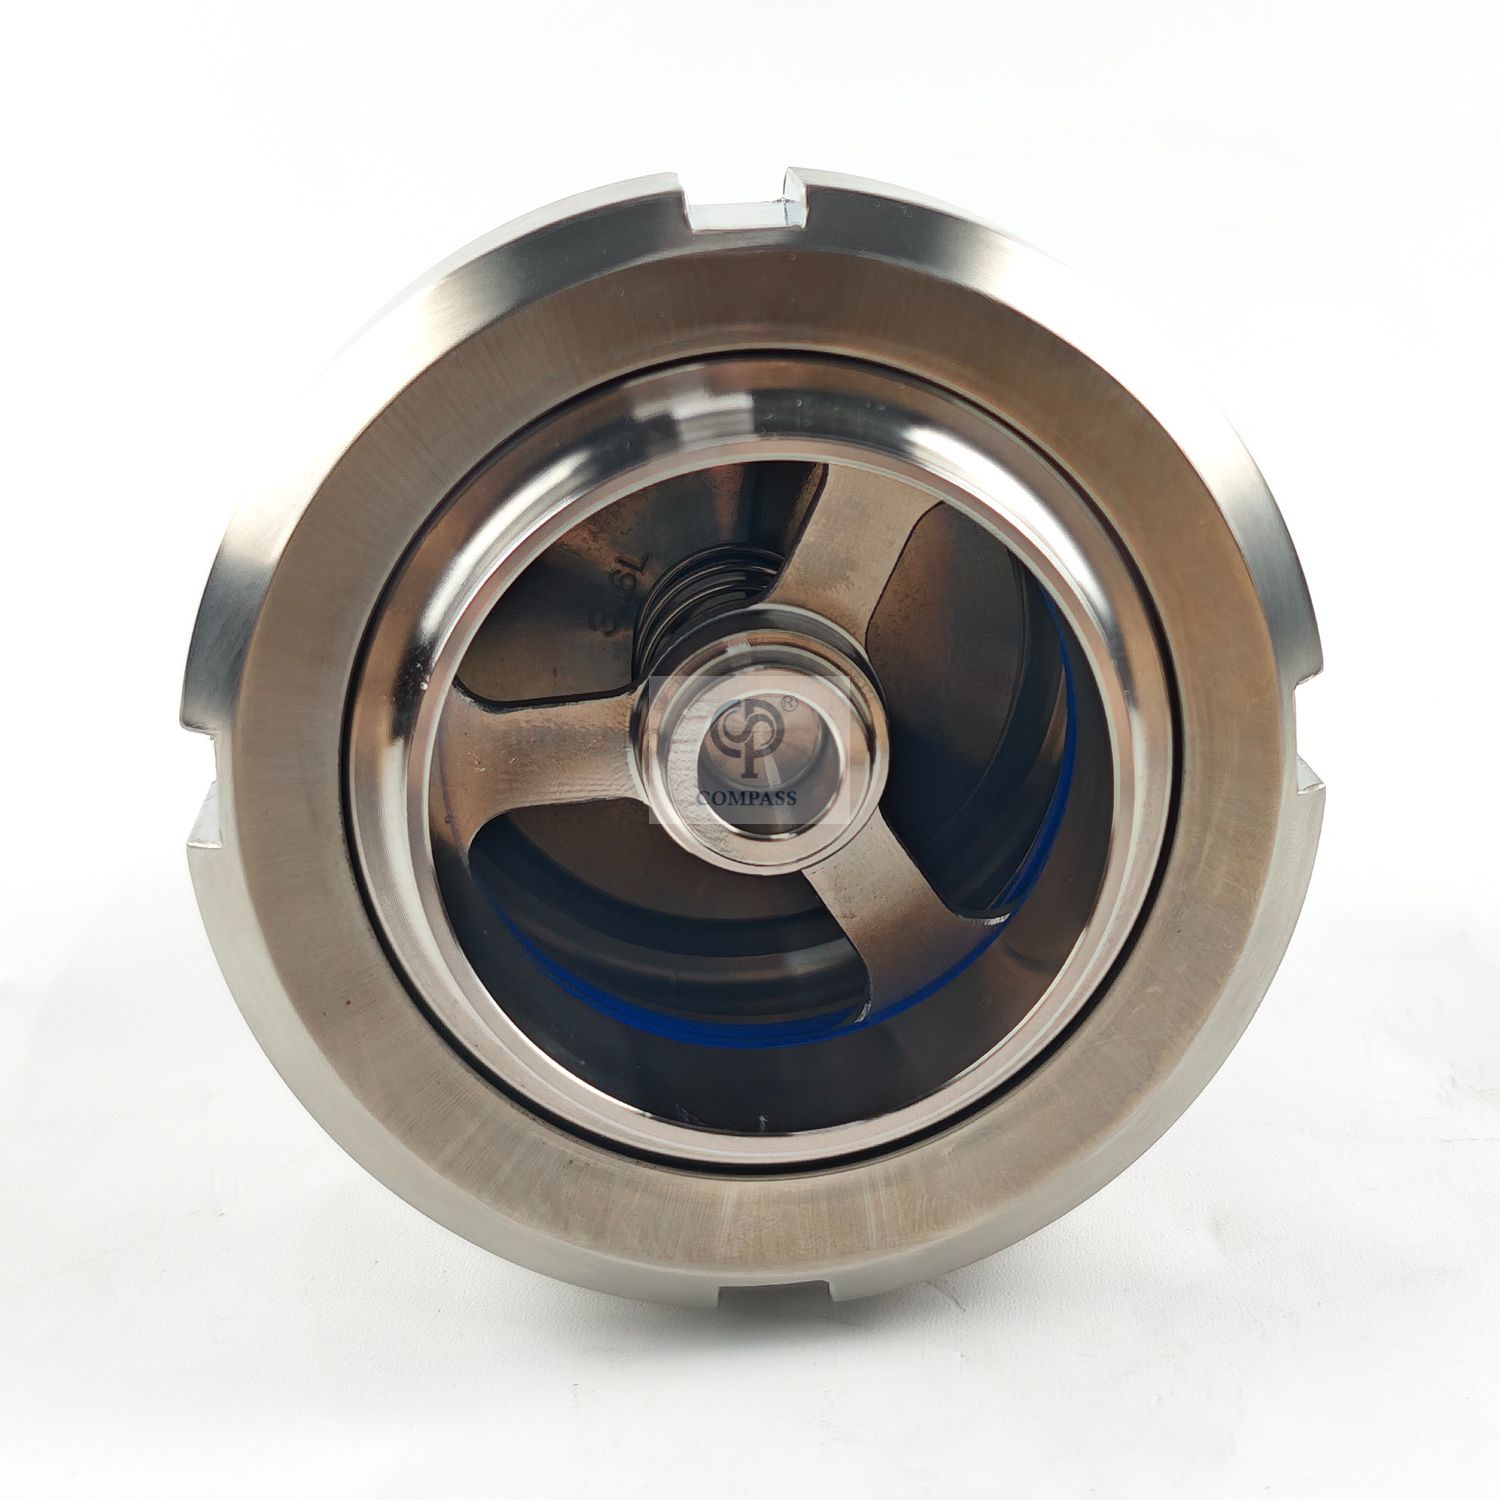
Leaking valves in hygienic processing environments cause severe operational disruptions. Product contamination and batch loss directly impact facility output. Unscheduled downtime disrupts production schedules, while compromised audit trails risk severe regulatory action. Isolating the root cause of these leaks proves difficult on the plant floor. Maintenance teams must differentiate between routine elastomer wear and improper installation. Systemic process incompatibilities, like aggressive CIP/SIP cycles, also play a major role in seal degradation. Fluid dynamics issues, such as cavitation, complicate matters further. You need a systematic, evidence-based approach to sanitary check valve troubleshooting. This guide evaluates repair versus replacement scenarios and helps you select the correct valve specifications. Proper selection prevents future leaks and maintains strict compliance.
Key Takeaways
Elastomer Incompatibility is the Leading Cause of Leaks: Mismatches between seal materials (EPDM, FKM, PTFE) and process media or cleaning chemicals account for the majority of internal seat failures.
Installation Orientation and Piping Geometry Dictate Performance: Incorrect alignment (e.g., horizontal installation of a gravity-dependent valve) or placing valves too close to pump discharges causes turbulent flow, immediate bypass leakage, and chattering.
Hydraulic Shock and Cavitation Accelerate Wear: Unmitigated water hammer distorts valve discs, while cavitation causes micro-pitting on the valve seat, destroying the required surface finish (Ra) for a hermetic seal.
Strategic Replacement Outperforms Constant Repair: Recurring leaks often indicate a misapplied valve type; upgrading based on specific flow, pressure, and compliance requirements (3-A, ASME BPE) reduces long-term maintenance burdens.
Table of Contents
Toggle
How Sanitary Check Valves Work and Where Leaks Happen
Internal vs. External Leakage
Understanding the exact nature of a leak dictates your troubleshooting path. Internal leakage occurs when fluid passes through the closed valve seat. This bypass leads to cross-contamination between process lines. It also causes unintended backflow into sterile zones. Pumps may lose their prime if the check valve fails to hold the fluid column. Internal leaks remain hidden until process anomalies appear, such as unexpected temperature drops in a sterilization loop or off-spec product batches.
External leakage happens when fluid escapes the valve body into the surrounding environment. You will typically spot this at the tri-clamp connection. It also occurs around the body casing or the ferrule gasket. External leaks present immediate safety and hygiene hazards. They create slip risks and attract microbial growth on the facility floor. In high-purity pharmaceutical water systems, even a minor external weep compromises the validated state of the entire loop.
Industry standards demand strict success criteria for a fully sealed system. Hygienic applications require a bubble-tight shutoff. This means zero measurable leakage passes the seat under operating pressure. Any deviation from a bubble-tight seal indicates a mechanical failure. You must address even minor weeping immediately to maintain sanitary conditions.
Specific components within Sanitary Check Valves are highly susceptible to failure. The elastomeric seat bears the brunt of the mechanical force. It compresses every time the valve closes. The tension spring continuously cycles, absorbing kinetic energy from the fluid. The guide stem ensures the disc seats perfectly on center. The body gasket seals the two halves of the valve assembly.
The interaction between these components degrades over time. Continuous cycling causes mechanical fatigue. Varying thermal loads expand and contract the metal and elastomers at different rates. This constant shifting creates micro-abrasions. The guide stem may begin to gall against its housing. When the stem drags, the disc lands off-center. An off-center disc pinches the elastomeric seat, causing immediate internal leakage.
Surface roughness (Ra) plays a critical role on metal seating surfaces. Sanitary applications require highly polished finishes, typically below 20 microinches Ra. Microscopic degradation ruins this finish. Abrasive particles or chemical etching create tiny scratches. These microscopic defects prevent the elastomer from forming a complete seal. Fluid finds these tiny pathways, leading to macroscopic leaks under pressure.
Elastomeric Seat: Subject to compression set, chemical attack, and abrasive wear from particulates.
Tension Spring: Vulnerable to fatigue, loss of cracking pressure, and stress corrosion cracking.
Guide Stem: Prone to galling, off-axis wear, and binding if flow is turbulent.
Body Gasket: Susceptible to extrusion from over-tightened clamps or thermal expansion leaks.
Common Causes of Sanitary Check Valve Leakage
How CIP/SIP Cleaning Damages Valve Seals
CIP and SIP cleaning cycles can damage valve seals if the material is not suitable for the chemicals and temperatures involved. Strong cleaning agents and high-temperature steam can cause seals to swell, crack, or lose elasticity over time. Repeated temperature changes may also deform seals, reducing their ability to maintain a reliable seal and causing internal leakage.
How Incorrect Installation Causes Valve Problems
Incorrect installation can reduce valve performance and shorten service life. The valve must match the pipe direction and installation position to avoid uneven wear and vibration. Improper clamp tightening can damage gaskets, while poor piping layouts near pumps or elbows can create unstable flow and cause valve chattering. Proper alignment, torque control, and sufficient straight pipe length help maintain reliable operation.
How Product Residue Causes Valve Leakage
Sticky fluids and particles can build up on the valve seat and prevent complete closing. Materials such as syrup, slurry, or sugar solutions may dry and form hard deposits that block the sealing surface. Abrasive particles can also damage the seat finish over time. Selecting a suitable valve design, such as a ball check valve for particle-heavy fluids, helps reduce residue-related failures.
How Water Hammer, Cavitation, and Spring Wear Affect Valves
Pressure shocks, cavitation, and spring wear can gradually damage internal valve components. Water hammer creates sudden pressure impacts that may deform the disc or guide parts, while cavitation damages the valve seat through repeated bubble collapse. Long-term spring fatigue reduces closing force, causing delayed sealing, reverse flow, and increased contamination risks.
Step-by-Step Sanitary Check Valve Troubleshooting
Step 1: Safety Check and Visual Inspection
Before troubleshooting, ensure the system is safely shut down. Follow LOTO procedures, close isolation valves, and release all pressure before opening any connections. Inspect the valve body, clamps, seals, and internal parts for visible damage, misalignment, wear, or contamination. Also check the surrounding piping layout to confirm proper installation and stable flow conditions.
Step 2: Pressure Testing and Leak Detection
Pressure testing helps identify the source and severity of leakage. Apply test pressure that matches actual operating conditions and check for pressure loss or fluid bypass. Measure the cracking pressure to confirm the spring and valve opening performance meet the required specifications. Incorrect pressure settings may cause leakage, vibration, or premature wear.
Step 3: Check Seals, Components, and Valve Surface Condition
Inspect seals and internal components for signs of damage, including hardening, swelling, deformation, or wear. Check the guide stem, spring, and valve seat for friction marks, scratches, or corrosion. A damaged sealing surface or poor surface finish can prevent the valve from achieving a complete seal, even after replacing the gasket or elastomer.Repair or Replace: How to Make the Right Decision
Maintenance vs. Capital Expenditure
Provide a framework for calculating the cost of recurring downtime, product loss, and seal replacement kits versus the upfront cost of a new, optimized valve. Maintenance teams often fall into the trap of replacing a seal kit every month without realizing the labor and downtime cost thousands.
Identify the threshold at which a valve should be considered beyond economic repair. When the metal seat itself is scored or pitted, replacing the elastomer will not stop the leak. Machining or re-polishing a sanitary valve seat in the field rarely achieves the required Ra finish. At this point, replacing the entire valve body becomes the only viable engineering solution.
Choosing Better Seal Materials for Your Application
Standard elastomers often fail in aggressive environments. EPDM and Silicone handle basic processes well. However, they degrade rapidly under harsh chemicals or extreme heat. You must compare these standard options with high-performance alternatives. FKM (Viton) and PTFE (Teflon) offer superior resistance.
FKM handles high temperatures and aggressive oils effectively. PTFE provides near-universal chemical resistance. It withstands the harshest CIP acids and caustics. You must weigh the trade-offs between material cost and lifespan longevity. PTFE costs more upfront but survives aggressive CIP/SIP environments far longer than EPDM. Upgrading the material stops recurring leaks caused by chemical incompatibility.
Elastomer Material
Best Applications
Limitations
Typical Temperature Limit
EPDM
Steam, water, dilute acids
Poor resistance to oils and fats
Up to 135°C (275°F)
FKM (Viton)
Oils, fuels, high heat
Vulnerable to strong caustics and steam
Up to 204°C (400°F)
PTFE (Teflon)
Aggressive CIP chemicals, universal use
Less elastic, requires higher seating force
Up to 260°C (500°F)
Silicone
High purity, broad temperature range
Low physical tear strength, poor with steam
Up to 232°C (450°F)
Selecting the Right Valve Type and Spring Setting
Evaluate if your current valve type fits the application. Spring-loaded check valves work well for clean, low-viscosity fluids. However, they foul easily in particulate-heavy media. Ball check valves use a free-floating ball instead of a spring. They handle slurries and sticky fluids without jamming. Air-blow check valves allow air to evacuate lines without letting product flow backward.
Map specific valve features to your desired operational outcomes. Use a ball check valve for high-particulate media to avoid spring fouling. Use a spring-loaded valve for rapid shutoff in clean lines. The right design eliminates mechanical binding.
Specify the correct spring cracking pressure. A high cracking pressure causes excessive pressure drops in high-flow systems. It forces the pump to work harder. A low cracking pressure causes chattering in low-flow systems. The fluid velocity cannot keep the valve fully open. Optimizing the spring matches the valve to the exact fluid dynamics of your process.
Preventing Future Sanitary Valve Failures
How to Create a Valve Maintenance Plan
A preventive maintenance plan helps reduce unexpected valve failures and production downtime. Instead of waiting for leaks, monitor valve operating cycles, CIP/SIP frequency, and temperature conditions to predict component wear. Reviewing failure records and replacing seals before failure occurs can improve reliability, maintain hygiene, and extend valve service life.
How to Upgrade Valve Specifications Safely
Changing valve designs can affect flow performance, pressure drop, and system drainage. Before replacing a valve type, test the new design on a small production line and monitor its performance during multiple operating cycles. Confirm that the new valve meets flow, pressure, and hygienic requirements before applying it throughout the facility.
Maintaining Compliance After Valve Replacement
All replacement valves and components must maintain required sanitary certifications. Verify that materials, seals, and valve bodies meet standards such as FDA, 3-A Sanitary Standards, and ASME BPE. Keep material certificates and traceability records for inspections to ensure regulatory compliance and product safety.
Conclusion
Audit your current leaking valves immediately to isolate the exact failure point using pressure decay testing.
Measure the straight-run piping upstream of your check valves to ensure compliance with the 10-pipe-diameter rule for laminar flow.
Review your CIP/SIP temperature logs to verify that your current elastomers are rated for the peak thermal loads.
Consult with a sanitary valve specialist to select a permanent, compliant replacement if the metal seat shows signs of pitting or rouge.
FAQ
Q: How often should sanitary check valve seals be replaced?
A: It depends on cycle frequency, CIP/SIP temperatures, and media aggressiveness. Replacement typically ranges from 6 to 12 months in high-purity applications. However, replacement intervals should be dictated by predictive maintenance schedules rather than run-to-failure events.
Q: What is the acceptable leakage rate for a sanitary check valve?
A: In hygienic applications, internal leakage should be zero. This is known as a bubble-tight shutoff. Any measurable bypass indicates a compromised seat, particulate fouling, or mechanical failure that requires immediate attention.
Q: Can CIP processes cause check valves to leak?
A: Yes. Harsh caustics, acids, and rapid temperature changes during CIP/SIP degrade elastomers. These conditions cause seals to swell, crack, or lose elasticity through compression set, ultimately leading to bypass leaks.
Q: Why is my spring-loaded check valve chattering?
A: Chattering occurs when flow velocity is insufficient to keep the valve fully open. It also happens if the valve is oversized, installed too close to a pump discharge, or if the spring cracking pressure is too high. This causes rapid wear.
Q: How do you test a sanitary check valve for internal leaks?
A: Isolate the valve and apply reverse pressure using a compatible fluid or clean air. Monitor the upstream side for pressure decay or physical fluid bypass. Always ensure the test pressure matches your actual operating conditions.
Q: What is the best elastomer for high-temperature SIP?
A: PTFE or specialized high-temperature FKM (Viton) are typically recommended for continuous SIP applications. They offer superior thermal stability and resistance to compression set compared to standard EPDM seals.